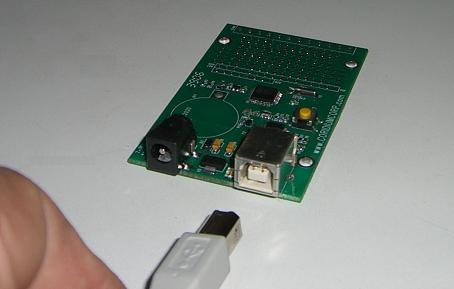
Step 2: Connect USB
For details on connecting the PRO family visit
this page.
The Eval Kit comes with a USB cable. This cable allows you
to connect the BASICboard or ARMmite directly to a
computer equipped with USB. Locate the USB jack on the side of the Eval PCB and
plug one end of the USB cable into it. When connected to a PC power is supplied
by the PC, the optional power connection is not required, but both may be
safely connected.
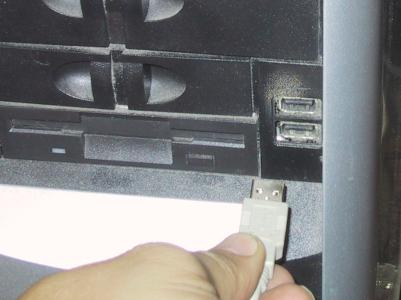
Locate the USB jack on your computer and plug the other end of
the cable into it.

Most PC's will
sound a tone that indicates a new USB device has been connected. Most
Windows Vista and 7 systems will either include the FTDI device
driver or are able to download it automatically from the network.
If your system is unable to do that. Run the FTDI driver installation setup in the \Program Files\Coridium\Windows_drivers directory. This will install the proper drivers for the FTDI chips we use for interfacing to the USB.
Up to date details are at the www.ftdichip.com VCP drivers page.
The Eval
PCB or the ARMmite will be powered from the USB bus. It may also be
connected to a 5-12V DC power source simultaneously.
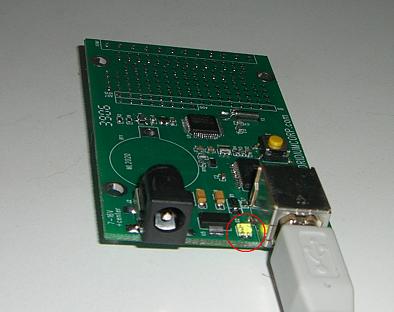
To verify connection with the USB and PC the LED on the Eval PCB should
light up.
On to Step 3